Soft gel nail extensions look aesthetic and natural but making them last longer is quite difficult if you are naive. You have to pay attention at every step from prep to buffing and final top coat. Issues like lifting, air bubbles, sidewall separation, breakage and gel flooding are common even among experienced users. Small mistakes during nail preparation, sizing or application also affect the results in some cases.
So in this guide we will tell you exactly prep, tip size and extend gel application. You will also learn about customization tips, safe removal methods, and important safety practices. So stick by to know as we talk about the common issues of nail extensions and their solutions.
Step-by-Step Process to Apply Soft Gel Nail Extensions
Here are six steps to apply soft gel nail extensions for both beginner and professionals:
-
Prepare the Natural Nails
Start by removing old polish and washing your hands. Push back the cuticles and remove any dead skin from the nail plate. Then lightly buff the nail surface to remove shine and apply a dehydrator to eliminate oils and moisture. Then apply a non-acid primer to improve adhesion. Make sure not to skip these steps as it can lead to lifting and premature pop offs.
Can You Skip Etching Pre-Etched Soft Gel Tips?
It is best not to skip this step even when a brand advertises its tips as pre-etched or matte. The inside of the tip should have a rough chalky texture so the extended gel can grip properly. Before application, lightly scuff the inside surface using a hand file or a suitable e-file bit. This extra step improves retention and reduces the chances of lifting or pop-offs.
-
Choose the Correct Nail Tip Size
Select a full coverage tip that fits your nail from sidewall to sidewall without pressing down. If your nail falls between two sizes then choose the larger tip and gently file the sides for a custom fit. A tip that is too small creates tension which can cause lifting, cracking or discomfort after application.
How Far Back Should You Push Your Cuticles?
Push back the cuticles thoroughly and remove any dead skin attached to the nail plate. Even tiny pieces of invisible skin can interfere with adhesion.
-
Apply Gel Adhesive
Apply a small bead of extended gel inside the nail tip near the cuticle area. Avoid using too much product as excess gel can flood the skin and sidewalls. Position the tip at a 45 degree angle just above the cuticle and slowly press it down toward the free edge. This technique pushes out air and reduces the risk of bubbles.
-
Cure Under an LED/UV Lamp
Once the tip is in place then hold it firmly and flash cure it for a few seconds to prevent movement. After securing all the nails then complete a full cure in a professional LED or UV lamp Proper curing is essential for strength, wear time and reducing the risk of under-cured gel.
How to Flash Cure Without the Tip Moving
Keeping the tip steady during flash curing can be challenging especially for beginners. A touchless flash cure lamp makes the process easier because both hands remain free. Hold the extension by the side edges rather than pressing on the top as it maintains even pressure across the nail.
While keeping the tip firmly in place, position the finger under the flash lamp and cure for about 15 seconds. Once the tip is secure then complete the final cure in a full-size LED or UV lamp.
-
Shape and Refine the Nails
After curing make sure to check the extensions for any rough edges or uneven areas. Use a nail file to adjust the length and refine the shape if needed. Blend the cuticle area carefully so the extension sits flush against the natural nail. Lightly buff the surface to create a smooth base for polish application.
-
Apply Color and Top Coat
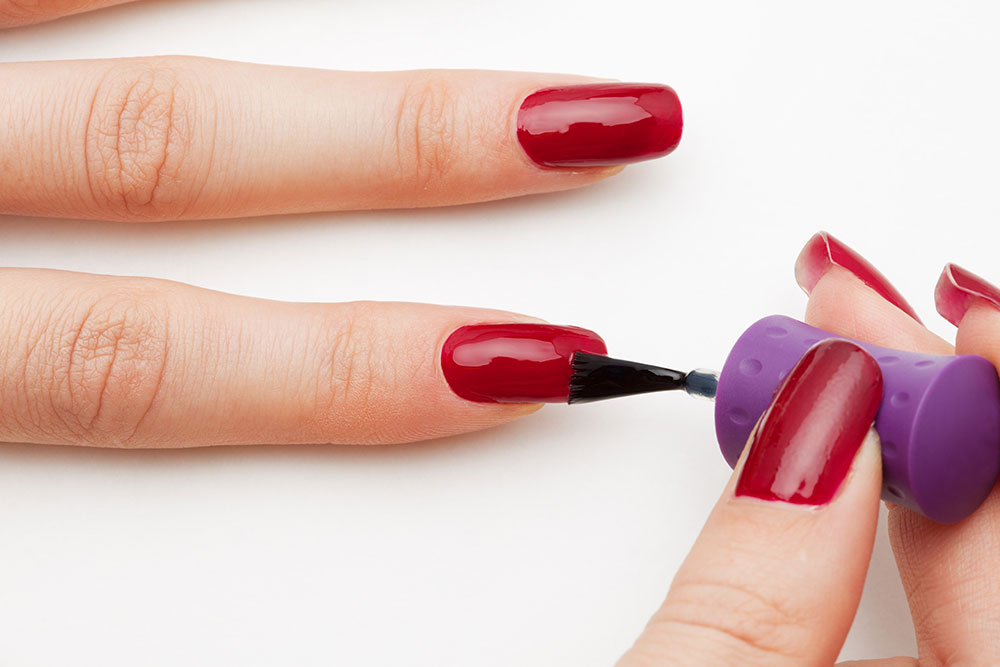
Clean the nail surface with alcohol and apply your chosen gel polish in thin even layers. Cure each layer according to the product instructions. Finish with a top coat to add shine and protect the manicure from chips and scratches. Apply cuticle oil to keep the surrounding skin hydrated and finish the steps.
How to Change Coffin Tips Into Almond Nails
You can change coffin tips into almond shaped nails by removing the bulk first. Start by trimming the corners diagonally using nail clippers. Once the basic shape is there then use a 180-grit file to refine the edges. File evenly on both sides to maintain symmetry and avoid thinning one side more than the other.
Can Soft Gel Tips Work on Flat or Spoon Nails?
Yes, soft gel tips can work on flat or spoon-shaped nails but tip selection is important. Look for tips designed with a flatter natural curve rather than highly sculpted styles. Because these nail shapes often have gaps between the natural nail and the extension.
Conclusion
Long lasting results of nail extensions depend on proper preparation, correct tip sizing, careful application and safe removal. Small details such as removing dead skin and preventing gel from touching the skin can make it last longer.
Whether you’re a beginner applying your first set or a nail technician refining your technique, we have discussed every concern you may have and also shared better solutions. So you can design stronger, cleaner and more durable soft gel extensions.
FAQs
What’s the Fastest Way to Remove Soft Gel Extensions?
The quickest and safest removal method is to reduce the bulk of the extension. File away most of the length and thickness before soaking. Once the extension is thinner then wrap each nail with cotton soaked in pure acetone and secure it with foil. The softened gel should lift easily from the nail surface after 15 minutes.
Can You Fill Soft Gel Extensions Instead of Replacing Them?
Yes, soft gel extensions can usually be filled once or twice before a full replacement is needed.
How to Make Clear Extensions Look Better From Underneath
Use a sheer nude or builder gel instead of a completely clear adhesive gel. If you want a decorative look such as a colored underside effect then apply color beneath the cured extension and seal it with a top coat.